How to Repair Wheels in Calgary: A Step-by-Step Guide

If your wheels could speak, they might tell tales of the road—filled with bumps, scrapes, and wear. But fear not, for in the realm of wheel repair lies a methodical path to restore their former glory. From assessing the damage to applying the final protective coat, each step holds the promise of rejuvenation.
Stay tuned to uncover the secrets of wheel repair and unveil a world where your rims gleam anew.
Rim Assessment and Cleaning
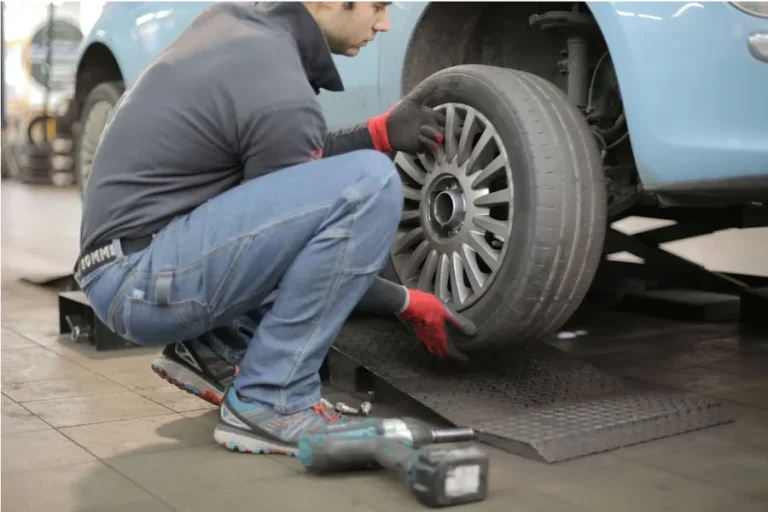
Assessing and cleaning your rims is crucial to identifying any damage and maintaining their appearance and functionality. When you need a wheel repair Calgary or rim repair services, start by thoroughly assessing your rims.
Tools Needed:
- Flashlight
- WD-40
- Tape measure
- Spirit level
- Mallet
Steps:
- Inspection: Check for scratches, dents, rust, and deformations. Inspect the bead seal for damage and ensure the rim diameter is even.
- Cleaning: Use gentle car soap, specialized wheel cleaner, tar remover, or a baking soda and vinegar solution. Avoid harsh cleaners that could harm your rims.
Keeping your rims clean not only enhances their appearance but also prevents corrosion and damage in the long run.
Minor Rim Damage Repair
When dealing with minor rim damage, the first step is to thoroughly clean the affected area before proceeding with the necessary repairs.
Steps:
- Cleaning: Use gentle car soap or specialized wheel cleaner to remove dirt or grime.
- Inspection: Look for scratches, scuffs, or other minor damages.
- Sanding: For minor scratches and scuffs, use sandpaper to smooth out the imperfections.
- Alcohol Wipe: Clean the area with rubbing alcohol to ensure a smooth surface for painting.
- Painting: For deeper scratches, apply automotive touch-up paint or primer to fill in the damaged areas. Mask off the surrounding area to prevent any accidental paint application.
Applying a Fresh Coat of Paint
To apply a fresh coat of paint to your rims, start by choosing a paint that matches the color of your rims.
Materials Needed:
- Automotive paint
- Clear coat
- Paint sprayer or brush
- Masking tape
- Newspapers or drop cloths
Steps:
- Preparation: Mask off the tire and surrounding areas to prevent overspray.
- Painting: Apply the paint in even coats, allowing each coat to dry before adding the next one. Ensure the entire rim surface is covered for a uniform finish.
- Clear Coat: Once the paint is dry, apply a clear coat for added protection and shine. Follow the manufacturer’s instructions for drying times between coats.
A fresh coat of paint can give your rims a brand-new look and enhance the overall appearance of your vehicle.
Protective Clear Coat Application
For optimal protection and a glossy finish, apply the clear coat evenly onto the clean, dry rims, allowing sufficient drying time between coats.
Steps:
- Preparation: Ensure the rims are free of any dirt or debris.
- Application: Shake the clear coat canister well and hold it about 6-8 inches away from the rim surface. Spray in a steady back-and-forth motion, overlapping each pass slightly.
- Drying: Apply a light coat initially, then follow up with additional coats as needed, allowing each layer to dry completely.
Once you’ve achieved the desired coverage, let the rims dry thoroughly before handling them. This protective clear coat will enhance the appearance of your rims and provide a durable shield against the elements.
Rim Repair Techniques and Corrosion Prevention
After applying the protective clear coat, shift your focus to mastering effective rim repair techniques and implementing corrosion prevention measures.
Techniques:
- Reshaping Metal: Use heat or cold methods to reshape metal for dents and bends.
- Corrosion Prevention: Clean your rims with a mild detergent or rim-specific cleaner and use rust remover for any signs of corrosion.
Proper cleaning and maintenance are key to preventing future corrosion. Sand and prepare your rims adequately before painting, choose a suitable paint type, and apply a clear coat for added protection and a polished finish.
Conclusion
Now that you have learned how to assess, clean, repair, and protect your wheels, you can confidently tackle any wheel repair task that comes your way.
By following these step-by-step techniques and using the right materials, you can restore your rims to their former glory and keep them looking sleek for years to come. Don’t let minor damage or corrosion stand in the way of achieving professionally restored wheels that will enhance the overall look of your vehicle.