A Whole-House Drywall Repair Naperville Homeowners Can Learn From
 Johnathan Parker |
July 29, 2026 |
10:08 pm
Johnathan Parker |
July 29, 2026 |
10:08 pm
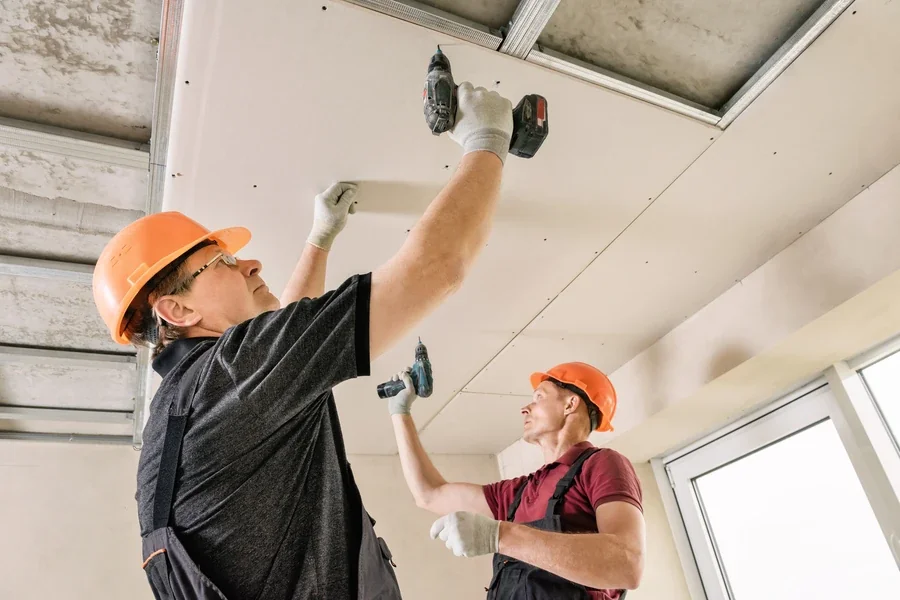
You do not notice most of a house until something breaks.
Then every seam, screw pop, hairline crack, and popcorn ceiling texture in a Naperville home demands attention at once.
Consider a family who bought a 1968 split-level near 75th Street last spring. Listing photos hid the walls behind furniture, and the inspection flagged “minor drywall issues” in three rooms.
Six weeks after move-in, the count was seven rooms, one ceiling, and a basement corner nobody wanted to look at.
Before you approve a single quote for drywall repair in Naperville, demand a whole-house diagnosis. The first patch hides the second bill.
A single patch is the wrong starting point. Drywall condition, texture, ceilings, and moisture risks vary by room, and the right fix drives what comes next with paint, trim, and ceiling work. The rooms below come from a composite split-level case, but the lessons apply to most Naperville homes.
Why the Walkthrough Reshapes Every Drywall Repair Estimate
Every serious repair starts with a walk before a quote.
A finisher walks each room with a raking flashlight to catch subtle shadows. Nail pops and old, feathered joints show up fast, along with deeper cracks that hint at a structural cause.
In the split-level, the walkthrough covered thirty-two individual issues across nine spaces. Each got a category. Cosmetic, mechanical, moisture-linked, or age-related.
That triage decided which walls got a skim, which got new board, and which got a full section replaced. The finisher’s notebook doubled as the project map, and every category dictated which crew touched which surface first.
Skipping the walkthrough means paying for a fix the wall did not need, and missing one it did.
Reading a Front Room Crack for Framing Clues
The front room had a ceiling-to-cornice crack running six feet along the north wall. Painters had touched it four times over two decades. Each time it returned by February.
Framing carried the answer. Header settlement above the picture window let the wall drop a fraction, and every skim coat rode along until the next freeze pushed it open.
Tape-and-mud work paired with a small structural shim gave the cosmetic coat something stable to hold onto.
Cornice cracks in split-levels almost always trace back to the way the roof load is transferred to the header above the largest window.
In 1968 construction, that header was often a doubled two-by-eight without a load transfer to a stud pack below. A carpenter with a level belongs on that wall before a finisher with a knife.
That single seam explained the difference between a cracked wall and a cracked house wearing wall clothing.
Popcorn Ceilings From 1968 and the Abatement Question
Kitchens in 1968 got the same popcorn treatment as living rooms. Fifty-seven years of steam, grease, and slammed cabinet doors leave that texture brittle.
The kitchen ceiling in this house had a nine-inch water stain from an old dishwasher supply line and three hairline cracks radiating from the light fixture.
Scraping the popcorn tested positive for a small amount of vermiculite, which meant an asbestos abatement conversation before any repairs could happen.
Homeowners had assumed the ceiling needed a scrape-and-repaint. The lab report reordered that assumption in one afternoon.
Older ceilings ask a diagnostic question most homeowners forget. What year was this texture sprayed, and what was in the mix?
Basement Panels That Fail Below the Water Line
Basement walls in Naperville are near the DuPage water table.
In this house, a bottom row of drywall in the finished basement had absorbed groundwater over three wet Aprils and turned soft below sixteen inches from the slab.
The panel had grown mold behind the paper. That kind of damage refuses a patch.
Repair meant cutting the affected board, adding a moisture break at floor level, installing purple-paper mold-resistant panels, and taping the transition to the older gypsum above.
Basements are where cheap repair advice fails hardest.
Backer Boards That Belong Behind a Naperville Shower
Around a shower surround, someone in 1997 installed regular half-inch drywall behind the tile. Twenty-eight years of steam delaminated the paper, and a slow leak at the valve did the rest.
Cement board would have held up in the same conditions. Green board would have lasted longer than standard drywall. The fix in this bath required removing the tile, installing the right backer board, adding a waterproofing membrane, and setting new tile before any paint was applied to the space.
Guest baths teach humility. The wall you cannot see is doing most of the work.
Sequencing a Multi-Room Drywall Repair Job Without Backtracks
Once every room has a diagnosis, the order of work matters as much as the work itself. Do the ceilings first. Prime the patches while the textures cure. Sand between coats. Paint last.
A short list of what a whole-house sequence looks like.
- Abatement runs first. Anything with asbestos or lead paint takes priority over every other task.
- Structural fixes come second. Shims, framing, and moisture breaks all precede board work.
- Ceilings take third. Overhead debris and dust ruin any finished wall below.
- Wall repair follows in fourth. Board, tape, mud, and texture match run in that order across rooms.
- Trim and carpentry sit in fifth. Baseboards and casings go on after walls are sanded out.
- Prime and paint close the sequence. Two coats of primer on new compound, then finish topcoats.
Sequencing errors cost more than material errors on a project this size.
Where Naperville Drywall Repair Budgets Tend to Break
Buyers of older Naperville homes budget for kitchen and bathroom updates. Drywall lives in the “we will paint” line, which almost never survives contact with the walls.
Repair costs vary by damage class throughout the house. A cosmetic skim and repaint in a spare bedroom runs in the low three figures. A full ceiling replacement with abatement runs four. A moisture-damaged basement section runs into the low fives once you add the mold protocol.
The split-level’s total ended at $18,400 across nine spaces. The family had budgeted $6,000. The gap is the norm on fifty-year-old Naperville homes, because cosmetic problems seldom stay cosmetic once a knife opens the wall.
Six Lessons From a Nine-Room Naperville Drywall Repair
A house-wide drywall repair is a set of small, honest decisions made in the right order. If you take one thing from this case.
- Start with a raking-light walkthrough before any quote.
- Sort issues by category and cause, then decide on the fix.
- Handle abatement and structure before touching cosmetic layers.
- Match texture and paint to the age of the surrounding wall.
- Give basements different rules than the rest of the house.
- Budget for the truth a walkthrough uncovers, and expect the number to climb.
The walls in a Naperville home speak before you finish signing the paperwork. Listen once, on your first walk, and every repair line after will make sense.